Posted in cooking, Life

Where there’s smoke: Pay attention to the cooking oil you use

Photo by Duane Mendes on Unsplash

I was feeling confident about my culinary expertise when something as simple as cooking oil humbled me.

In my defense, it was not my kitchen, so I was using an unfamiliar pan, range, and ingredients. I was at my daughter’s house where my wife and I were staying with a couple of granddaughters while their mom gave birth to number three.

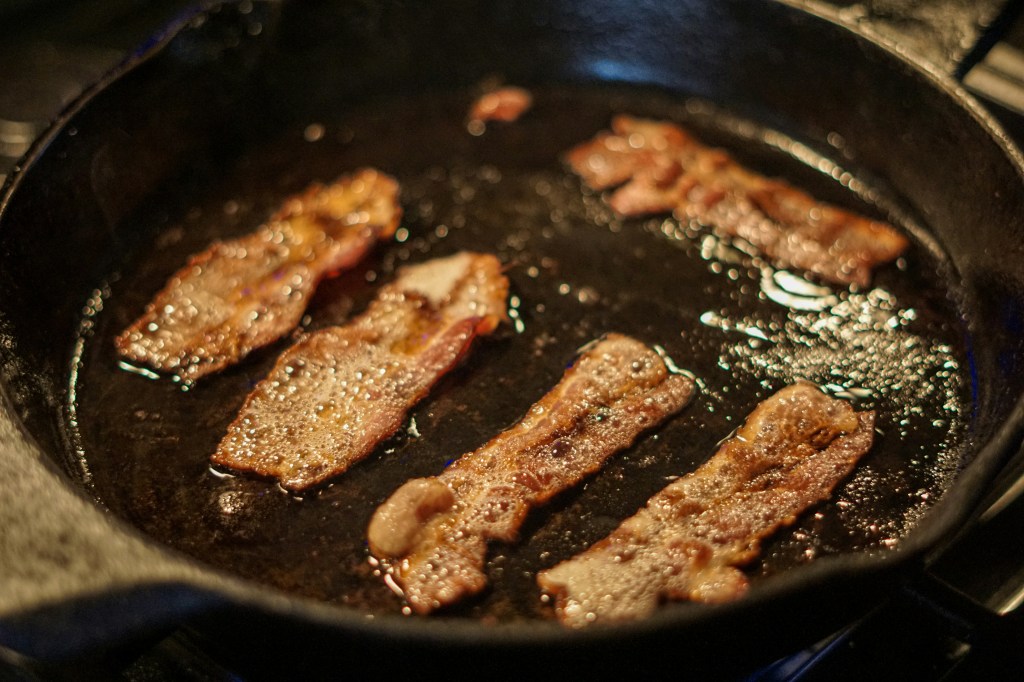
I brought a small ribeye steak with me for supper the first night. At home I would just throw it on the grill. No grill here, so I got ready to pan fry it. At home I would reach for my cast iron frying pan. My daughter had a very nice set of stainless steel cookware. A pan’s a pan, right?

I let it warm up on medium heat while I ground a little salt and pepper onto the meat. Holding my hand over the pan, I could tell it was ready. I grabbed the non-stick spray from the cabinet and gave the pan a quick shot. Even though I quickly took it off the burner, a cloud of smoke filled the kitchen. I turned on the fan only to discover it wasn’t vented to the outside. The smoke alarms started beeping, my wife open the sliding glass door to the backyard and tried to fan the bad smoke out and the good air in. The oldest granddaughter asked, “What are you doing, grandpa?”

It looked like I had no idea what I was doing. I did recover and the steak tasted great. The pan was a pain to clean. I had much to learn about cooking with oil.

I did some quick research online. If I’m are cooking at high temperatures, refined avocado, safflower, and light olive oil work well. At medium temperatures, use corn, coconut, sunflower, and canola oil. Vegetable shortening, extra virgin olive oil, and butter are for lower temperatures. I’ve got a lot to learn, though. Some of those oils taste better certain sauces, marinades, and dressings than others.

For the next two days, the odor of burning oil greeted my nose every time I walked into their house. However, as we packed up to leave today, the smell was just about all gone. Whew.

Posted in cooking, kitchen

Gettin’ zesty with it

Right after we went and picked ten pounds of blueberries, I made scones with a recipe that called for orange zest. Not knowing any better I shouted, “Hey, do we have any orange zest?”

Of course not. You zest an orange, or a lemon, or a lime, to get the zest, little pieces of the rind, for flavoring in cooking. Okay, so how do I obtain some zest? Duh. With a zester. “Honey, where’s our zester?”

After rummaging around in the kitchen, I found this trusty and rusty old four-sided grater that might work. I don’t even remember using this before. The smallest and the largest sides didn’t seem right, so I tried second largest one. It kind of worked, but quickly got jammed up with rind. What about the next-largest one? Those pieces of rind were a little large, so I had to chop them up finer with a knife.

Time to level up. This looked like a good zester. Amazon choice. Pretty cheap too.

But not cheaply made. Sturdy, curved, stainless, and easy to clean, this ought to do the trick. Before I received it, the seller sent along instructions and tips. Lightly oil the grater. Be sure to wash the fruit. Only zest the colored part of the rind, avoid the white.

Worked like a charm.

I wondered who came up with the idea of using citrus rind in this way? Here’s what I learned:

According to SPICEography, people began incorporating lemon zest in recipes around the 15th century, but the word “zest” didn’t become a part of cooking vocabulary until the 17th century. French culture popularized lemon zest as a key ingredient for sweetening and flavoring pastries. Today, lemon zest is a commonly used, highly versatile ingredient that is used in both sweet and savory dishes. (Read More: https://www.mashed.com/893002/the-untold-truth-of-lemon-zest/)

More and more of my cooking, especially E2M recipes and seasonings, use lemon and lime zest. Now I’m zesting with the best!